Annotating point clouds can be a time-consuming process. To help with the task, several macros and filters are available on the market, but there are limitations to using existing methodologies.
Current solutions offer a limited number of categories, are inaccurate and require a lot of manual parameter tweaking. Flai overcomes those issues by using artificial intelligence, specifically deep neural networks, to automatically classify point clouds into up to 18 different categories with high precision and without any manual interactions.
In this post, let's look at how you can upload, process and download a point cloud using the Flai web app.
Uploading a point cloud
First, you have to upload the point cloud you want to process. Dataset upload can be initiated from the Dashboard, Catalogue page or inside a Projects view.

Besides the direct upload from the computer, you can add the data to the application stored on the Amazon S3 bucket.
Available pre-trained AI model
On the Flai web app, various pre-trained classification modules are available for processing:
Aerial Mapping classifier (20 categories - choose which categories you need)
Forestry classifier (6 categories - choose which categories you need)
Mobile mapping classifier (20 categories)
Stockpiles classifier (2 categories)
Pre-trained Artificial Inteligence (AI) models that are used to automatically classify point clouds are called Classifiers.
Performing the point cloud classification
Processing on the Flai web application is done by defining processing flows.
Processing flows are essentially data pipelines, comprised of data readers, processing nodes and data writers.
To run the processing after data are uploaded:
Navigate to Projects view and select a project you want to create a processing flow.
Click on Create new flow and + Create from scratch.
Create the classification flow by clicking + to add them to the screen. For basic processing, a minimum of 3 nodes need to be defined:
In readers, select the Point cloud reader and click the gear icon to select the dataset in the drop-down menu.
in processors, select Classifier and click the gear icon to choose the correct model. Then just select categories that you want to predict. Depending on the categories and point density of your point cloud processing cost will be calculated.
in writers, select the Point cloud writer and click the gear icon to specify the name of the output point cloud.
When you have configured all 3 nodes, connect them with arrows by clicking on the output connector of the first node and matching them to the input connector of the following node.
Click Save.
Click Run when you are ready to start processing.
A notification pops up, telling you approximately how long the processing will take and how many processing units you need to process the flow. By clicking Confirm the processing will start.
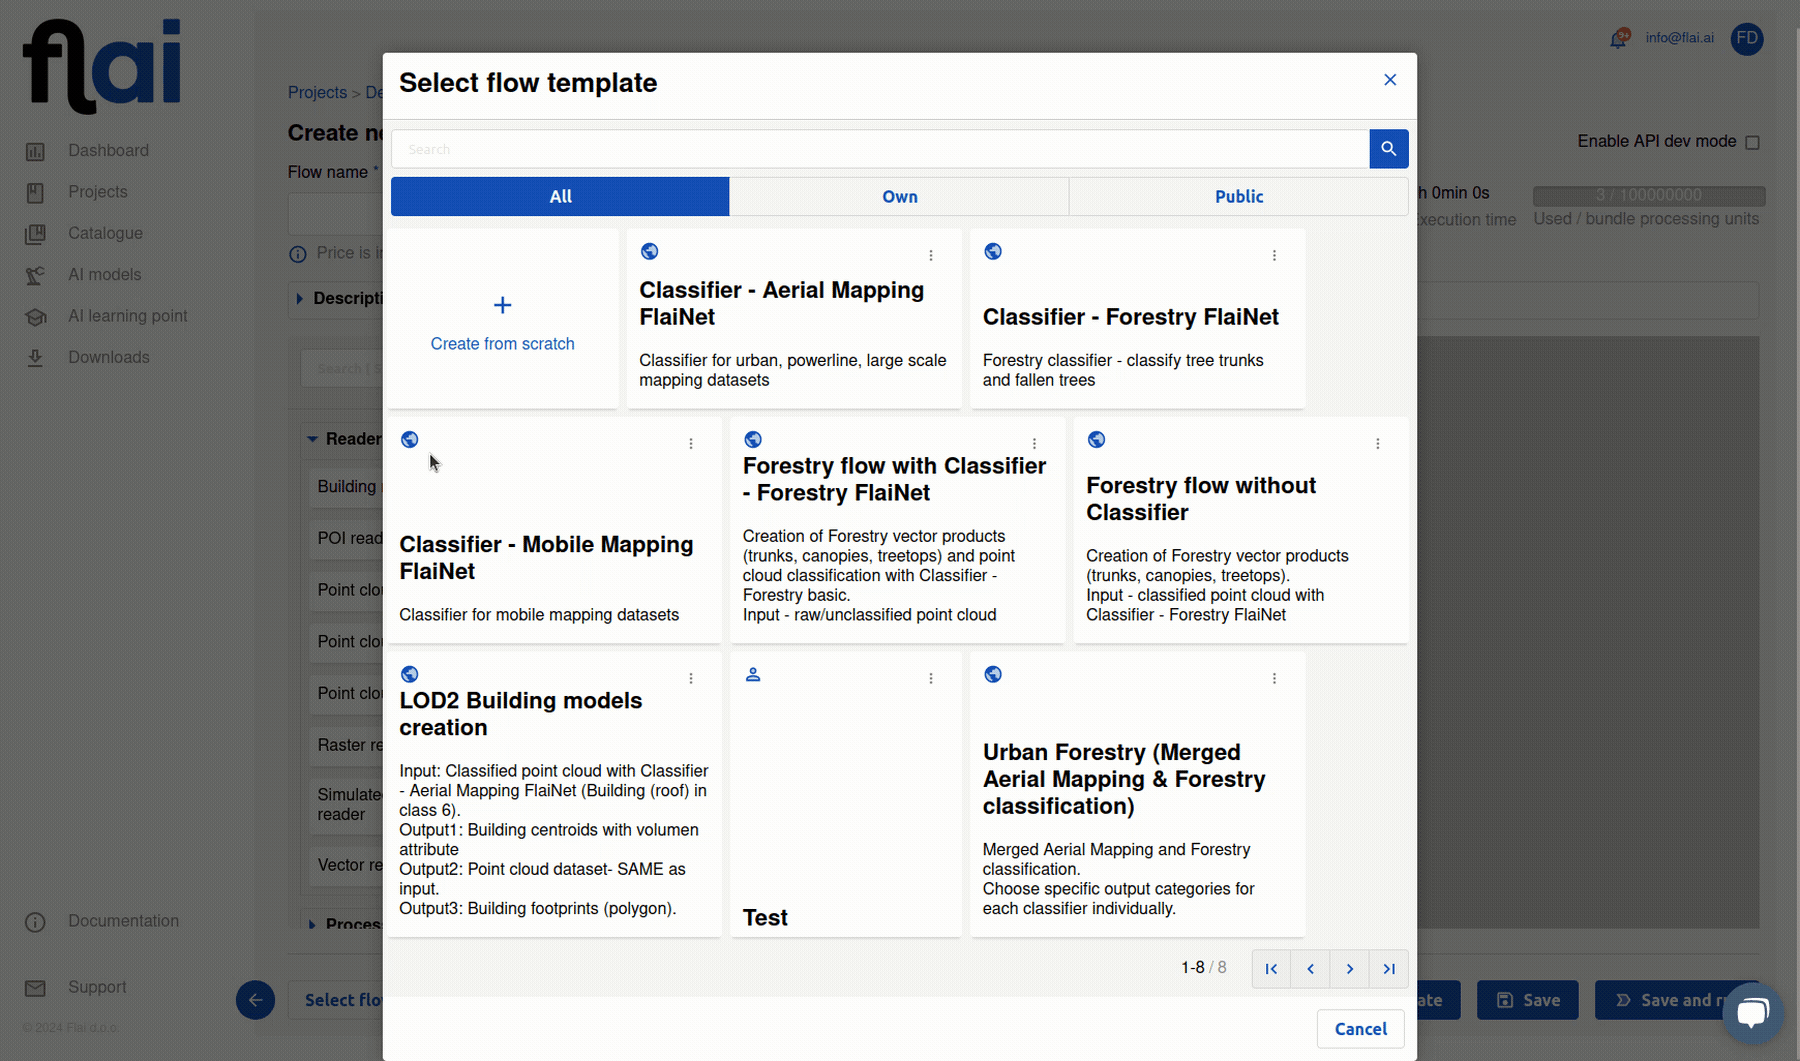
To streamline the process, you can simply click on Create New Flow and opt for the Classifier - Aerial Mapping FlaiNet template. In the Flow template, you only need to specify the output and input in the Point Cloud Reader and Point Cloud Writer, and then select the appropriate model and desired prediction categories. For further insights, explore our blog on Processing Flow Templates.
You can check the status of your flow by navigating to the project in which it was created. On the bottom is a section "Flow executions" where you can check the status of your flows.
After the flow finishes processing, you will receive an email notification. You can check the results by clicking the link in the email or finding the newly created dataset in the catalogue.
Downloading the results
It is possible to download the classified point cloud in the .laz file format by clicking the download icon (1) in the Catalogue view.
Once the download is prepared you will receive an email notification with the download link to the file.
To see the list of available files, click Downloads (2) and select the one you want to download.
